How I vibe-code 10+ web services from anywhere
/ 6 min read
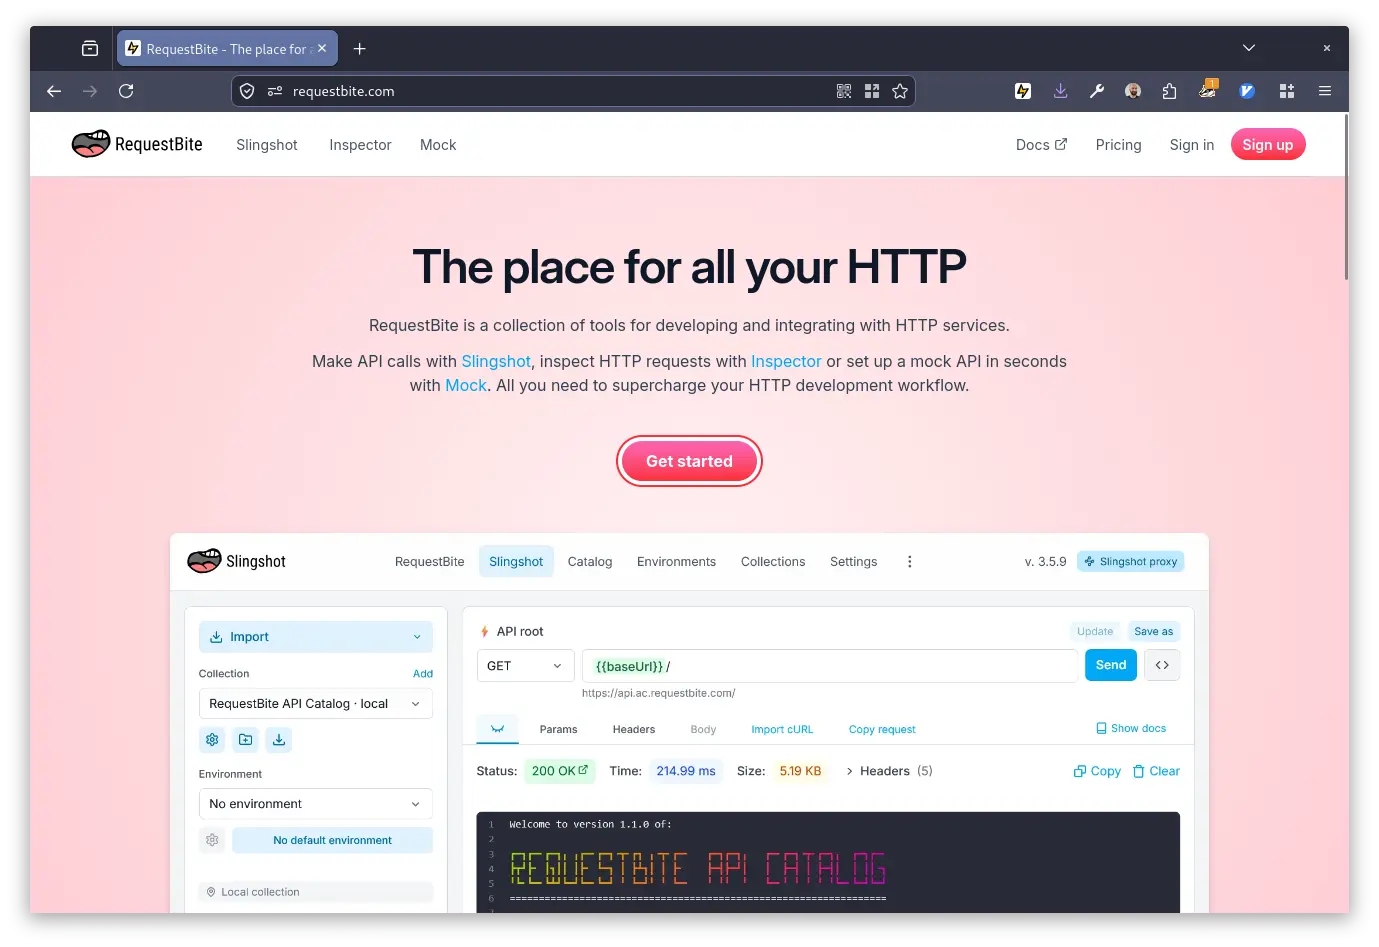
In my spare time I develop (or, rather, “vibe code” with my AI friend) a set of web services that I collectively call RequestBite. It consists of an API client called Slingshot, a public REST API catalog, a mock API service, an HTTP request inspector aptly called Inspector, and more stuff on the way.
Technically those are a set of APIs written in Go and a bunch of Preact and Astro frontends written mostly in JavaScript.
Since it’s a side project that I work on in my spare time, time spent on it often happens during lunch breaks, evenings and weekends and between taking the kids to football practice. This means I’m most often on some laptop when I get the urge to do a quick update and need the immediate and full access to my dev environment running all these services.
In this article I describe how I currently manage this using my home workstation as my development environment and how I use Tailscale, ssh, tmux, LazyVim, Mistral Vibe (my recent Claude successor) and FoxyProxy to easily update any repo at a moment’s notice from just about anywhere.
My home workstation
On my home workstation (the workhorse that makes this all happen) I run Debian Linux, but just about any Linux/UNIX system would work in a similar manner.
Since my ISP experiments with CGNAT on IPv4 and has so-so connectivity over IPv6 I need some stable way to the workstation. This is solved by the wonderful service Tailscale that offers a VPN service that just works - among many other things. They also have a very generous free tier with support for just about any computing platform.
How you can enable Tailscale on your server
When signed up and logged into Tailscale, click Add device, pick Linux server and follow the instructions. Within a minute or so, you’re server is ready to accept connections from any other computer or phone running Tailscale.
How I connect to my home workstation
If we assume I would always be on the same client device, all I would need to do is install Tailscale on it and I’d be ready to SSH to the workstation by first listing the nodes in my “tailnet”:
tailscale status
100.98.xx.xx    home              blynt@          linux    -100.83.xx.xx    fredriks-z-flip   blynt@          android  -100.104.xx.xx   laptop            blynt@          linux    -
If my home workstation is called home, I’d do the following to SSH into it:
ssh username@homeSince I have the same username on most machines I use, I can generally just
ignore the username@ part.
Since, however, I don’t always know from where I’ll be connecting, I connect through a jump server. That’s just a fancy name for a cheap VPS that I rent from Hetzner on which I have also installed Tailscale. It allows me to SSH from any client regardless of whether it has Tailscale installed or not:
ssh -J jump.example.com homeAccessing my dev services
On my home workstation I run dev servers for all the services I develop (e.g.
Preact with Vite and Go with Air for hot reload). These run on various ports
(e.g. such as http://localhost:5731) on the workstation, and to access these
from my client I could forward that port like this:
ssh -L 5173:localhost:5173 -J jump.example.com home… but since I have 10+ services running at all times, it becomes very
cumbersome to forward each port like this. To make it possible to forward any
request to localhost, regardless of port, I instead set up a SOCKS5 proxy when
SSH:ing home and use FoxyProxy in Firefox make make use of it.
To set up a SOCKS5 proxy when connecting to my home workstation, I run this:
ssh -D 1080 -J jump.example.com homeThis sets up a SOCKS5 proxy on the client computer on port 1080. To use it for my web services, I need to add a small configuration to Firefox and install the FoxyProxy extension.
By default, it’s not possible to have a proxy on localhost, so to fix this, you
need to type in about:config in the URL bar in Firefox, click the button
Accept the Risk and Continue, search for the value
network.proxy.allow_hijacking_localhost and set it to true.
Next you need to install the FoxyProxy extension.
To make sure I can type localhost:5713 in the browser URL bar and access my
frontend or type localhost:8080 to reach some endpoint on my running API, I
need to configure FoxyProxy to route all localhost requests through the SOCKS5
proxy.
To do so, I click on the new FoxyProxy button in the Extensions section of the browser window and select Options in the menu.
Then I go to the tab Proxies and add a new one by clicking Add.
Let’s make sure to fill out the following details:
- Type: SOCKS5
- Hostname: localhost
- Port: 1080
In the bottom left, I click the [+] button next to _Proxy by Patterns.
Let’s make sure to fill out the following details:
- The 3rd dropdown from the left should say Reg Exp.
- Pattern:
^http://localhost(:\d+)?/
Finally I click Save.
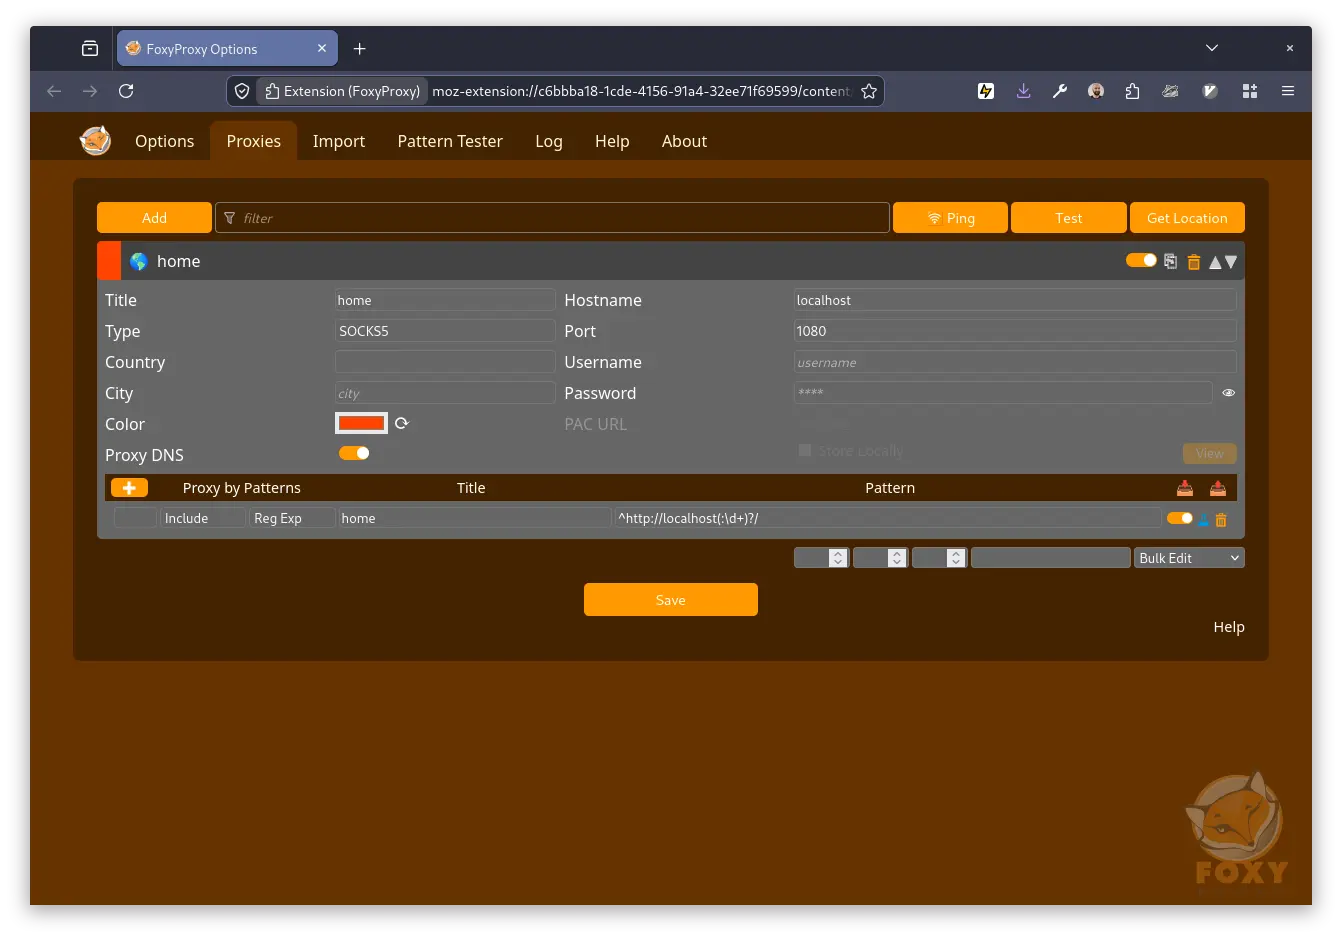
Click the FoxyProxy button again and select Proxy by Patterns.
I am now able to access any HTTP service running on my home workstation by
typing e.g. localhost:5173 into the URL bar. Any other URL like
https://blynt.com would not go through the proxy - just like we want it.
How I use my home workstation
To make it super-easy to pick up developing any of the services I’m building and have running, I have a long-running tmux session that I’ve configured for easy access to any service.
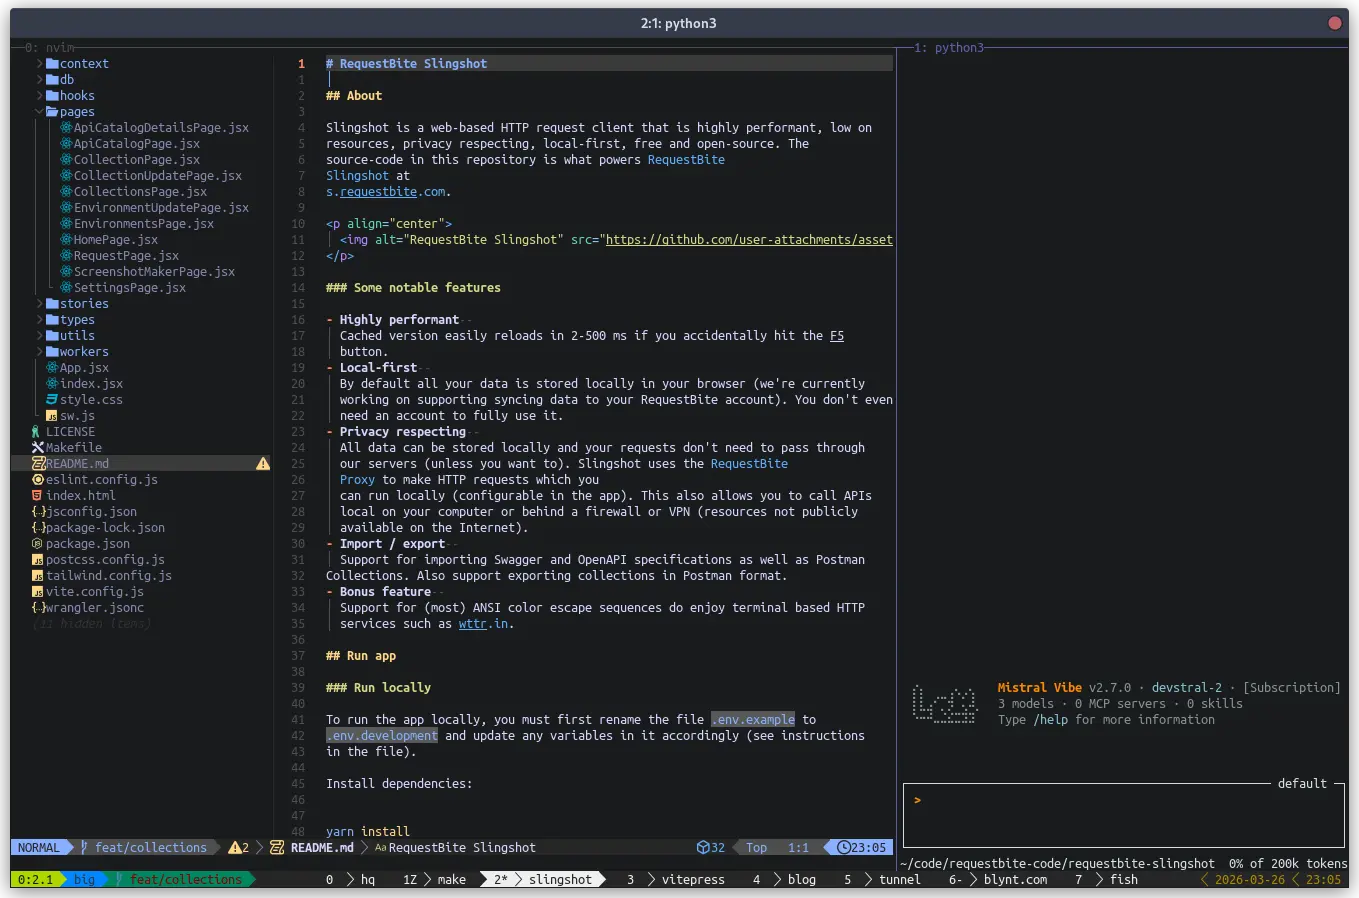
In my tmux session, I have one window for each service that I’ve given a relevant label. In each window I have two panes, one with LazyVim so that I can edit files and push commits (with vim-fugitive) and one where I have Vibe running in the same repo. This way it’s very easy to give Vibe instructions and immediately see the updates that results in.
How I bootstrap tmux:
Start by navigating to the git repo of a service and run:
- Start a session:
tmux - Start LazyVim in the first window:
vim - Split the window in two panes:
Ctrl-B % - The cursor will end up in the second pane, start Vibe:
vibe - Set an apt label for the window:
Ctrl-B ,
The above guide only works if you have, like me, configured your shell to start in the currently active directory. Otherwise you will probably end up in your home directory when splitting the window in step #3 above.
With tmux set up like this, connecting to my home workstation and jumping into coding (and testing) mode is essentially two commands in a terminal:
ssh -D 1080 jump.example.com hometmux attachCouldn’t really be any easier!